Tips & Tricks for Learning Centers
Love the idea of learning centers but hate the way yours turn out?
If your centers are more mayhem than model, you’re not alone. Setting up – and maintaining – centers that work is no easy feat. But, when done correctly, learning centers can be highly engaging and effective, so let’s give it a go – together! Check out our best strategies below for creating and managing centers that work – and don’t forget to share your own tips and tricks in the comments section.
Center Topics
You could support every lesson you teach with a center, but, let’s be honest, that would be exhausting. Instead, try some of our tried-and-true student favorites, like:
- Library
The library is one of the most obvious centers in the room. Stock yours with classroom books as well as a variety of independent-reading books in a range of ability levels. Consider highlighting a recommended or new-addition book of the day/week. If you’ve got space, set up a multi-media listening center as part of your library center. Entice students with colorful pillows, beanbags, and other cozy seating options.
- Word Play
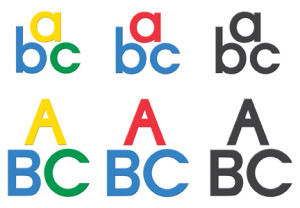 Bring words to life with a colorful, multi-sensory center where students can physically explore letters, sounds, and words. Fill your letter center with reading manipulatives such as magnetic letters, word family, and other phonics tiles to facilitate alphabet, word sorting, and word building activities. You can also support hands-on literacy practice with arts and crafts materials such as colored pencils, markers, and water color paints.
- Writing
 Who doesn’t love a good story? Students of all ages and abilities love to tell their stories, so provide a variety of materials and let them loose – you’ll be amazed at the results. Stock your writing center with:
– Collage materials including magazine pages, scissors, glue, and construction paper for younger kids. Art enables children to tell their stories even if they are not yet ready to write words!
– Paper and a stapler…and watch as your students create and fill their own storybooks! (Tip: colored pens and pencils can make book-making even more appealing!)
– Stationery, cards, and envelopes for letter writing. Ask parents for donations!
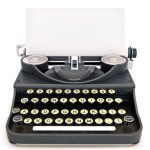
– An old typewriter! Check with your janitor or try a local thrift shop – find an inexpensive one and watch as your students pick and peck their mini-masterpieces.
- Play
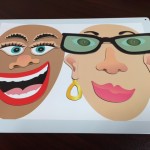 To keep things really fresh and fun, change the supplies in your play center every day. Consider dress up clothes, blocks, puppets, theme-based materials, board-based magnetic play sets, other toys, and even art materials.
- Math
Make math a bit more magical with manipulatives! Plastic and wood manipulatives are great, but we prefer magnetic ones. Why? They’re less likely to make a mess and get lost…because they stick!
- Science
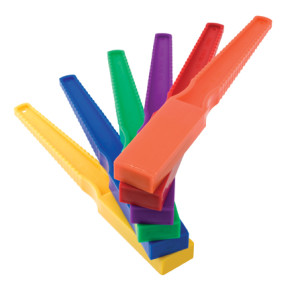
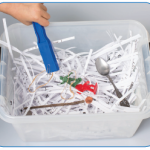 Students love sensory science, so why not set up a sensory science center? Fill a large plastic tub with filler (shredded scrap paper, packing peanuts, sand, water, or dry beans), then bury several small objects (try to include objects with similarities and differences for comparing and contrasting later). Provide a tool, instructions for excavating, and a chart where students can record their finds. It’s especially fun to include some magnetic objects in the tub and let students “find” them with Magnet Wands. Then count, compare, contrast, group, sort, analyze, describe, and discuss! Which objects were magnetic? Which are non-magnetic? Small? Large? Colorful? Hard? Soft? You know the drill!
Organizational Tools
If we had all the space in the world, setting up stellar centers would be a snap. Since that’s not always the case, efficiency is key when organizing centers. Choose tools that are versatile/multi-functional, reusable, and customizable, and materials that help you make the most of the space you have…while keeping your room tidy.
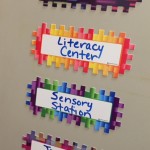 Magnetic Name Plates are an easy way to label your stations. They stick to most metal desks, filing cabinets, door frames, magnetic whiteboards, and even to heating/cooling vents along the back walls of your room. (You can also make your own magnetic manipulatives by writing words, word parts, or numeric expressions or equations on them!)
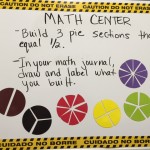 Since space is a premium, transform your whiteboard into a temporary center with magnetic math or reading Just write the name of the center and directions on the board, and then protect it with the Caution Do Not Erase Magnet Set.
- You can even use Big Block Hero Magnets to hang an instructional pocket chart (set up with an activity targeting a specific skill) right there on your big whiteboard.
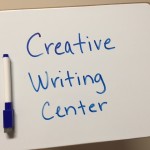 Individual Magnetic Dry-Erase Boards are must-have tools for centers. You can write center directions on the boards, prop them up in wire bookstands and use them as center signs, have students practice writing on them, pair them with magnetic math or literacy manipulatives for hands-on practice, and more. Tired of losing your small dry-erase markers for these boards? Choose the magnetic variety, and you’ll never find another one on the floor. (I know, never say “never!”)
- Can’t find what you’re looking for? Create your own center content with craft magnets and paper or index cards! Use inexpensive, teacher-made clip art – like you can find on com or free stock photos to support your hand-made materials.
Management Techniques
Now, back to the mayhem. Without serious classroom management skills, even the most engaging center content can go awry. Try these tips to set expectations from the get-go:
- Introduce each learning center on the first day of school with a walking tour. Discuss how to handle the materials: we do not throw them, put them in our mouths (or noses or ears or pockets, for that matter), provide directions and volume expectations, and discuss taking turns and being overall good classroom citizens.
- Once students are back in their regular seats, group them and give each group a color. Rotate color groups through a few basic centers to get started.
- When the children are at their first center, you go to work, moving from group to group, praising appropriate behaviors, and re-directing inappropriate behavior. As the time nears, provide a warning for clean-up time, next supervise as students return materials to their places, and then line up next to their stations. At the start of the year, it might be helpful to place a masking tape arrow on the floor next to each station as a guideline for each line.
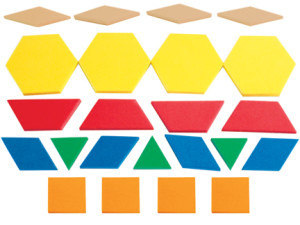
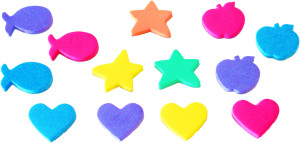 Keep materials basic as students get used to center work. Try books and plastic, foam, or magnetic materials that students are able to manipulate playfully on their own such as tangrams, pattern blocks, cubes, other shapes, and counters. Introduce more unique materials one at a time, allowing children time to learn how to interact with them. This technique is critically important, so much so that we have mini-lessons to teach students how to engage with new tools.
- As students get accustomed to center work, set up and introduce new stations. You should “man” (or wo-man!) each new center, introducing the materials and providing directions as each color group cycles through.
Learning centers are essential for young learners and incredibly engaging and inspiring for older students. In fact, they’re often students’ favorite school activities (well, except for recess and lunch, but who can compete with those?). With proper planning, tools, and management, centers can become a successful part of your classroom routine, too. Now get out there and set up your centers!
Tags: alphabet magnets , classroom magnet products , daily five , Dowling Magnets , learning centers , word play learning center
Share This:

